


For the general design file specs to watch for on custom printing, see What to Confirm Before Custom Printing on Kraft Containers? Design File Specs, Sampling, and Lead Times, which covers the custom printing process for kraft paper containers, not identical to plant fiber’s process constraints.
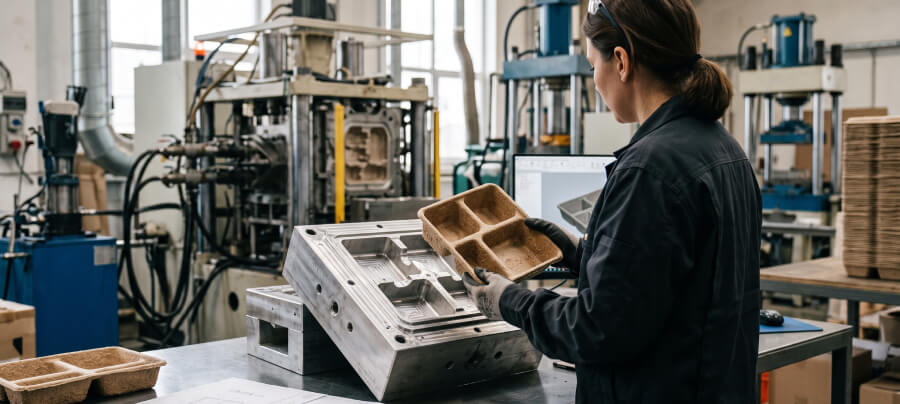
Plant fiber containers are molded, and the material surface is rougher than kraft paper. Printing methods and mold-opening both run on their own logic. This guide covers the customization details specific to plant fiber containers.
How Plant Fiber Custom Printing Differs From Kraft Paper’s Process
Plant fiber containers are fiber-molded, with a more pronounced surface texture than kraft paper containers, and that material property directly shapes which printing methods work and what the printed result looks like.
Choosing a Printing Method: Screen Printing, Offset, or Heat Transfer
Screen printing is the most common printing method for plant fiber containers, since its ink adheres well to plant fiber’s rougher texture, and it suits clean color blocks and a limited palette for brand logos.
Heat transfer prints the design onto a transfer film first, then presses it onto the container surface under high heat, giving richer color depth than screen printing, but the transfer film and high-heat press equipment cost more, usually only worthwhile at a larger order volume.
Offset printing sees less use on plant fiber containers, since the material’s uneven surface texture makes it hard to achieve the flat contact surface offset printing needs, and the printed result tends to come out with uneven color blocks.
Worth asking a supplier for a printed sample using each method under consideration before committing, since the difference between screen printing and heat transfer often shows up more clearly on the actual container surface than in a written spec sheet. A design that looks identical on a computer screen can print with noticeably different sharpness once it’s actually on plant fiber.
How the Plant Fiber Surface Affects Ink Adhesion
A molded plant fiber container has natural fiber pores on its surface, and how much ink seeps into those pores affects both how sharp the printed graphic looks and how well it holds up to wear, which is also why plant fiber containers generally can’t match kraft paper’s printing sharpness.
If a brand logo needs fine lines or gradient effects, worth confirming with the supplier upfront how well plant fiber can reproduce it, rather than applying the same design file specs used for kraft paper.
Fiber pore density can vary slightly between raw material batches too, meaning even with identical print settings, the printed color can come out visibly different batch to batch. If color consistency matters for a brand, worth discussing whether the supplier does batch-level color calibration, rather than assuming every batch will print identically.
A physical color reference kept on file at the supplier’s end, rather than a digital color code alone, tends to hold up better as a comparison standard over multiple production runs.
Digital color codes can render slightly differently depending on the monitor or printer used to generate them, while a physical swatch gives both sides the same fixed reference point to check new batches against.
Mold Development: How Long From Design to Production
If the need is a shape or size the supplier’s standard molds don’t cover, mold development enters the picture, adding a step beyond straightforward custom printing and extending the overall timeline.
Shape and Spec Details to Confirm Before Mold Development
Before mold development starts, a supplier typically needs a complete container design, covering shape, dimensions, compartment layout (if it’s a multi-section design), and draft angle.
Draft angle gets overlooked easily, a molded plant fiber container needs to release cleanly from the mold, and if the interior angle is designed too straight, the edges tend to chip during release, a detail worth confirming with the supplier at the design stage rather than discovering it after the mold is already built.
How Mold Fees Work, and Whether They Get Credited Back
Mold fees vary with a container’s shape complexity, a more complex compartment layout or an unusual shape typically runs higher.
Some suppliers credit the mold fee against the order once a certain volume is reached, worth confirming this with the supplier before development starts and keeping it in writing.
Mold ownership is worth clarifying upfront too. Some suppliers treat a custom mold as the buyer’s property once fully paid for, and others retain it as their own tooling even after the fee is covered, which affects whether that mold can be moved to a different supplier down the line if the relationship changes.
Worth getting this in writing as part of the mold agreement rather than assuming ownership defaults one way or the other.
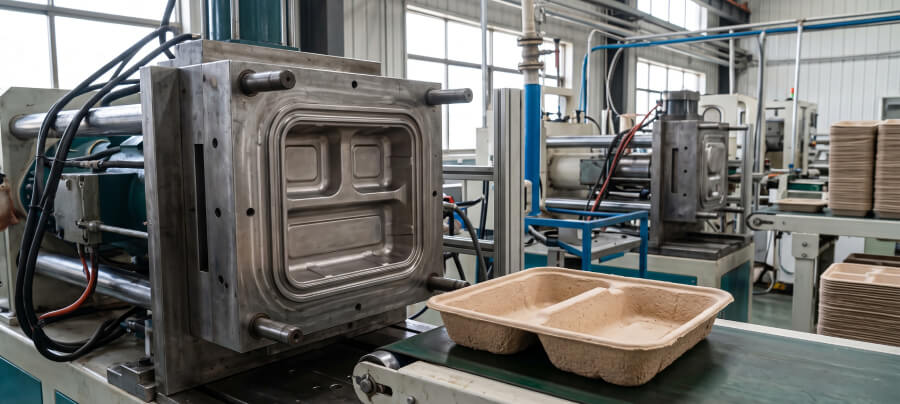
Mold development time is worth building into the schedule ahead of time too. From a confirmed design to a finished mold usually takes several weeks, and if a shape revision comes up along the way, it pushes the timeline further out. For a customized container tied to a firm launch date, worth planning mold development as its own separate block of time rather than folding it into the sampling and production timeline estimate, so the overall schedule doesn’t end up underestimated.
Common Revisions at the Sampling Stage
The first sample after a mold is finished rarely comes out perfect on the first try, and knowing the common revision points makes the back-and-forth go faster.
Color Shift and Print Position Alignment
The most common issue at sampling is a color shift between the printed result and the original design file, tied to plant fiber’s naturally darker base color, light or bright colors printed on plant fiber tend to come out duller than the same colors on a white substrate.
Print position alignment is another common issue, especially on an irregularly shaped container, print position tends to drift on curved surfaces or corners, worth comparing the sample against the design file’s print position markers item by item when it arrives.
Shape Deviation and Mold-Release Defects
After a mold is finished, the first batch of samples sometimes shows a slight shape deviation from the design, or edge chipping and rough burrs from the mold-release process, usually a sign the mold needs fine-tuning.
When these issues come up, worth confirming directly with the supplier whether it’s a mold issue or a raw material formulation issue, rather than guessing, which risks fixing the wrong thing and causing rework.
A second sampling round after a mold adjustment is normal and worth budgeting time for, rather than treating the first sample as the only checkpoint before full production. Rushing straight from a flawed first sample to a full production run, hoping the issue resolves itself at scale, tends to turn a small mold fix into a much larger batch of defective product.
How to Negotiate Customization Options Without Blowing the Budget
The more customized the order, the higher the cost tends to run, and understanding the cost structure helps balance customization needs against budget.
Standard Mold vs. Custom Mold Development: The MOQ Difference
If a supplier already has an existing mold and only custom printing is needed, the MOQ threshold usually runs much lower than a fully new mold. A brand-new mold, with its higher upfront tooling cost, usually comes with a higher MOQ requirement to spread that cost out.
With a limited budget or order volume, worth checking a supplier’s existing mold inventory first for a shape that’s close enough to pair with custom printing, rather than assuming a new mold is needed from the start.
An existing mold that’s close but not an exact match is also worth weighing against a brand-new one. A slightly larger standard size paired with custom printing can sometimes deliver the branding a project needs at a fraction of the cost and lead time of a fully new mold, especially for a first order meant to test market response before committing to a dedicated shape.
How Print Area and Color Count Affect Cost
A larger print area and more colors generally push cost up, especially with screen printing, where every additional color means another plate-making and printing step.
On a limited budget, worth starting with a simplified single-color or two-color design, then evaluating whether to add colors or expand the print area once order volume grows, rather than launching with the most complex design on the first customization run and seeing how the market responds before investing further.
For the basics of sourcing plant fiber containers, specs, certifications, minimum order quantities, more on that is coming in a future guide, including a more complete breakdown of how to negotiate MOQ.
Plant fiber container customization ultimately comes down to understanding the material’s process constraints first, then negotiating printing method, mold development, and cost structure.
The plant fiber surface texture sets the ceiling on print sharpness, draft angle determines whether mold-release goes smoothly, and the MOQ threshold depends on whether an existing mold or a new one is used. Getting these details straight upfront keeps the customization process from getting stuck in repeated revisions.